Here’s a fun way to visualize your practice.
When I ask my students how they practice at home, they usually mention one of two things: they repeat the entire piece, hoping it will get better, or they repeat small sections, knowing that that is a way we often woodshed in our lessons. I am always pleased when my students know to use strategy and woodshed small sections in their practice, but usually something is missing.
Until we visit the subject together, students don’t know that there is more than one way to practice! This assumption makes sense – in learning instruments, there’s a large emphasis (especially in the classical tradition) of doing things the “right” way. So, students resort to one way of practice, the one that they think is the “right” one. I used to think that there was one “right” way to practice, too.
As I mentioned in my Creative Practice series, there are so many different ways to get better at music! When learning new repertoire and skills, strategy and diagnosing issues are the name of the game. I always encourage my students to strategize and problem-solve in their practice. One of the most rewarding things I do in lessons with my students is to give them more practice techniques to use. I developed a fun way to visualize the work you can do with your music and make it fun!!
I call it – the practice toolbox.
Your goal as a musician is to build something really beautiful. To do that, you need lots of tools in your toolbox. Have you ever seen a toolbox with just a hammer in it? I haven’t, but some students think that a hammer is the only tool they can use!
Confused? Let me explain.
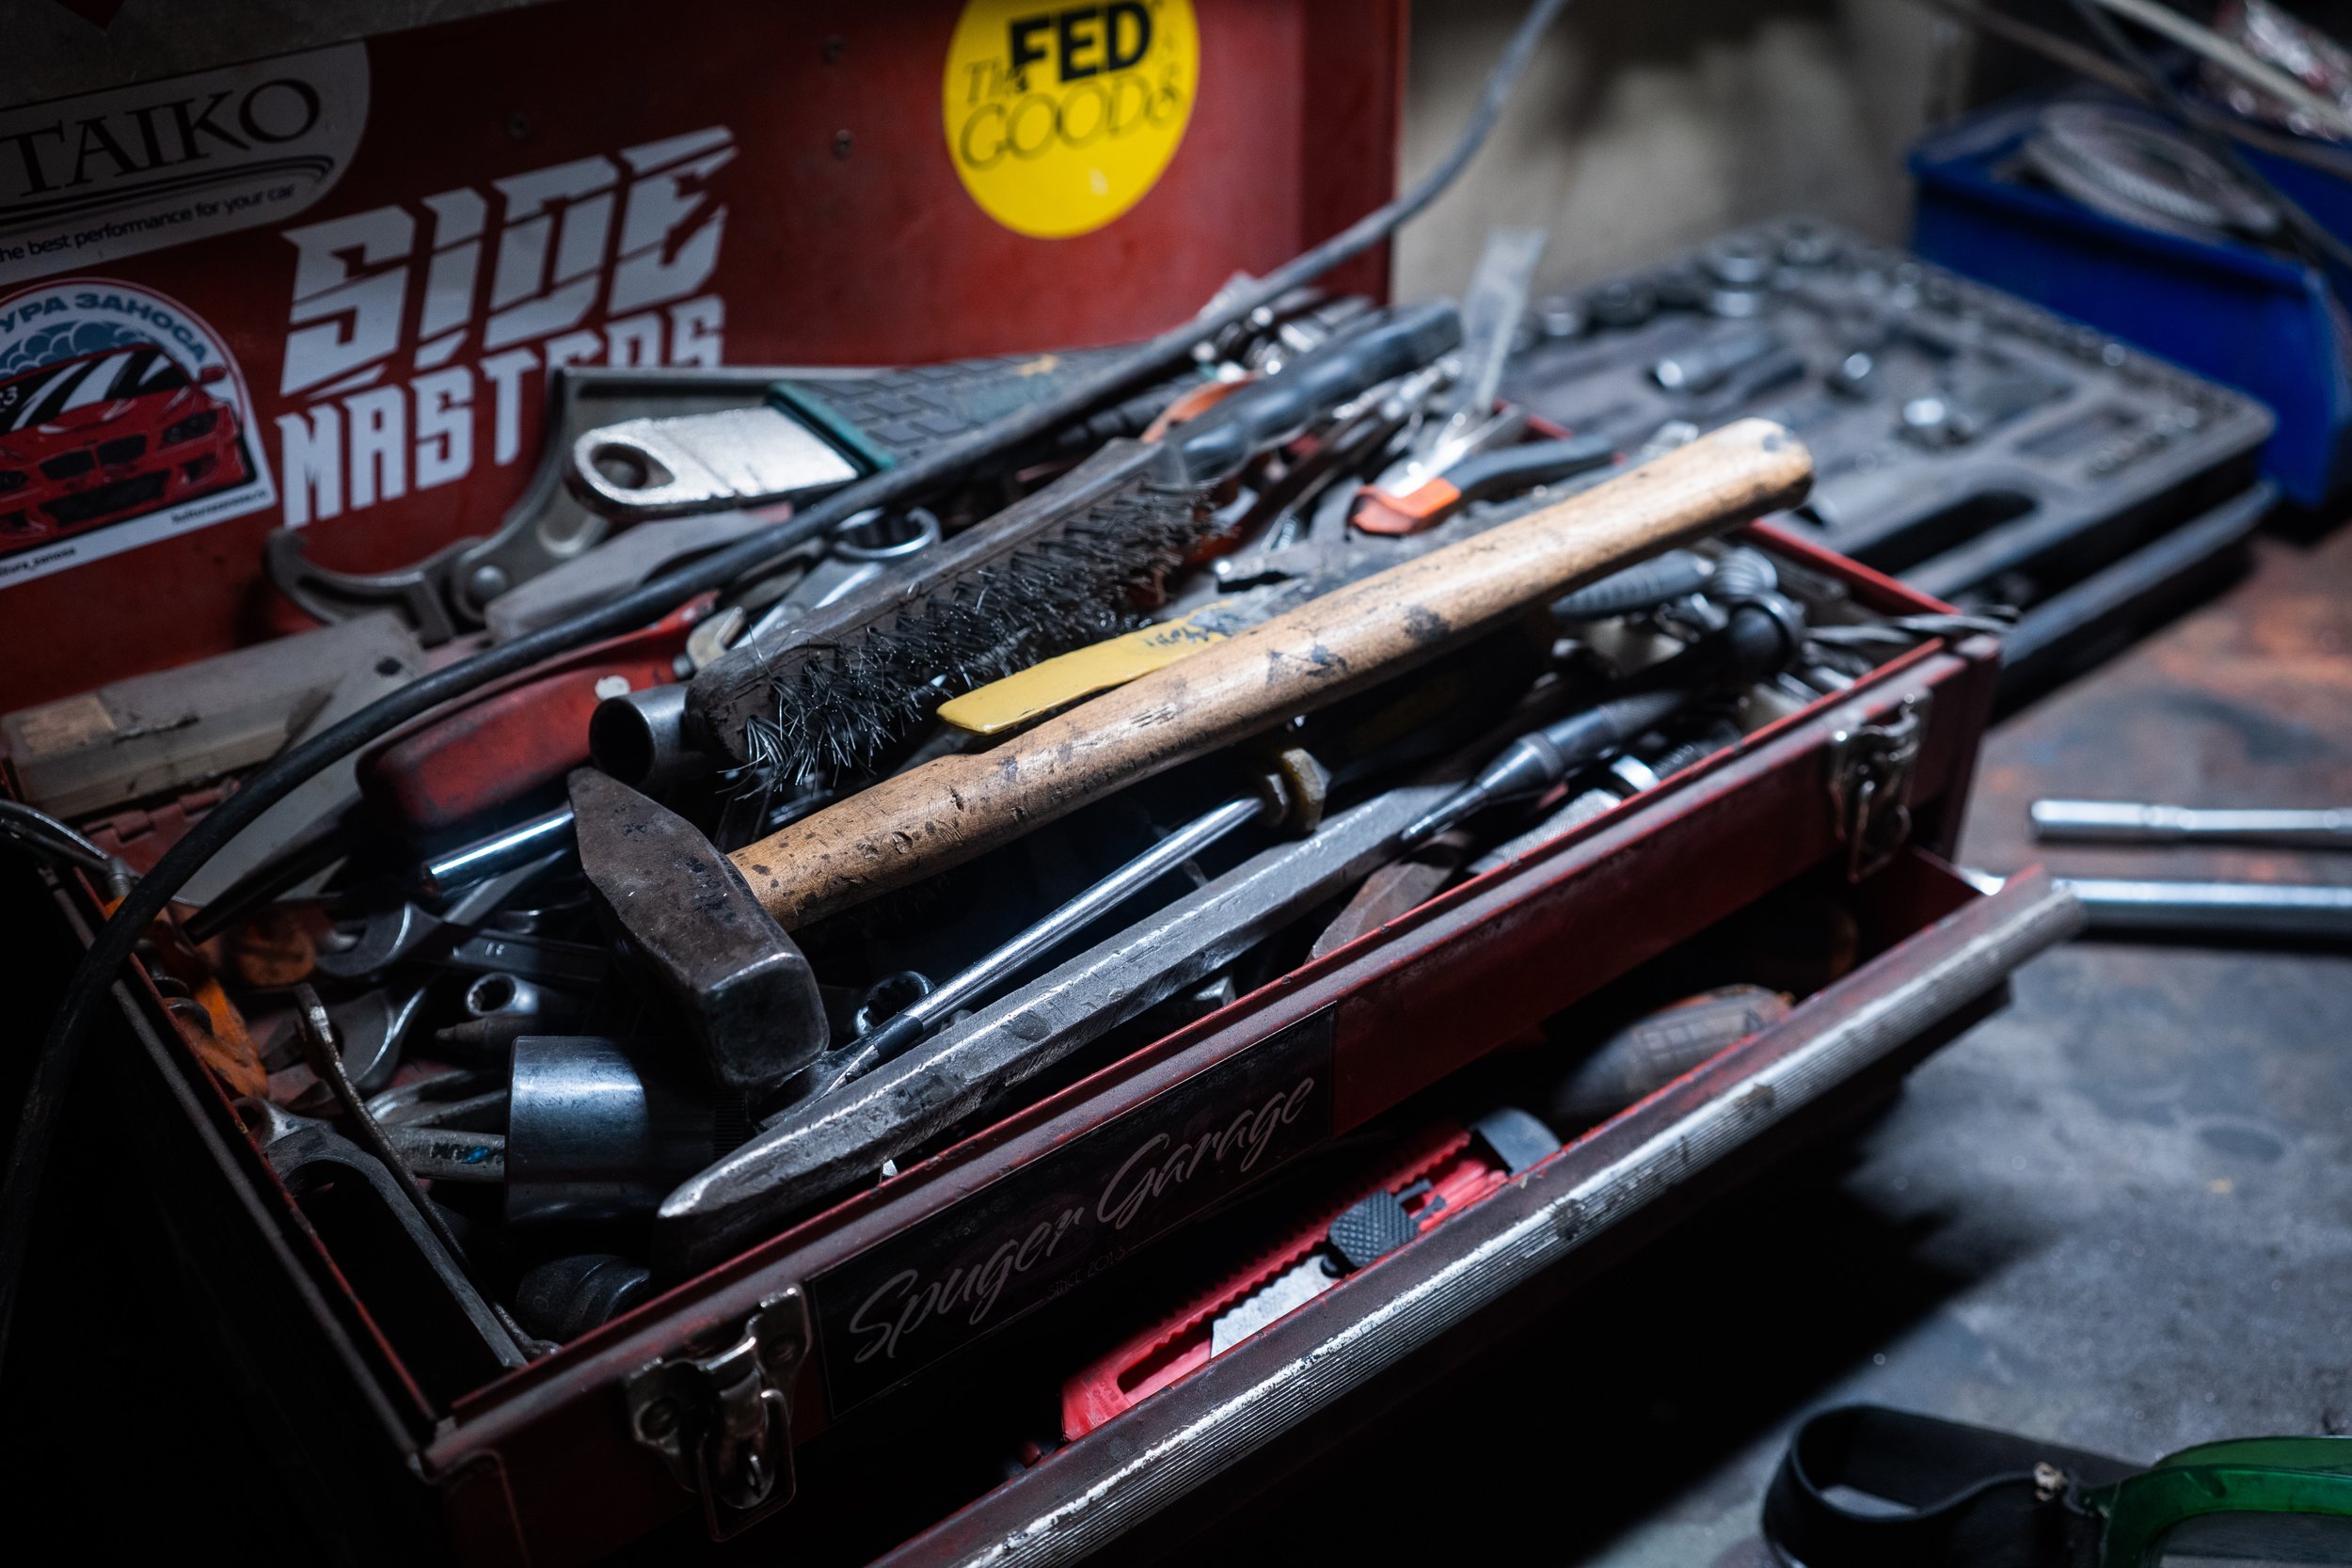
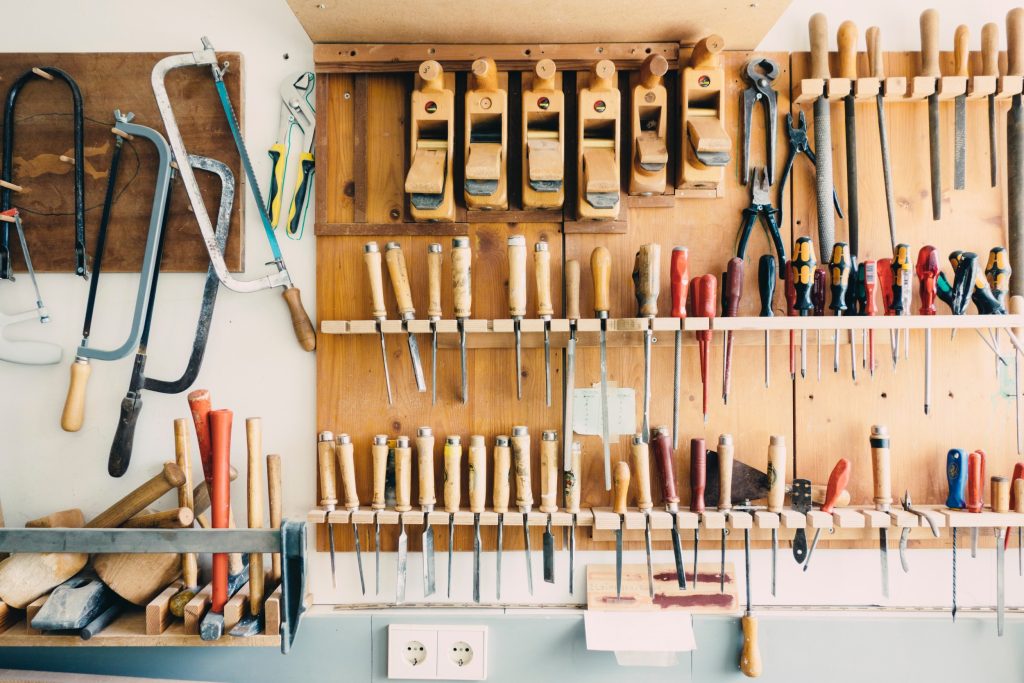
The tools in my practice toolbox are a hammer, blueprint paper, a chisel + saw, a drill, a magnifying glass + flashlight, glue, a level, a hard hat and gloves.
Hammer
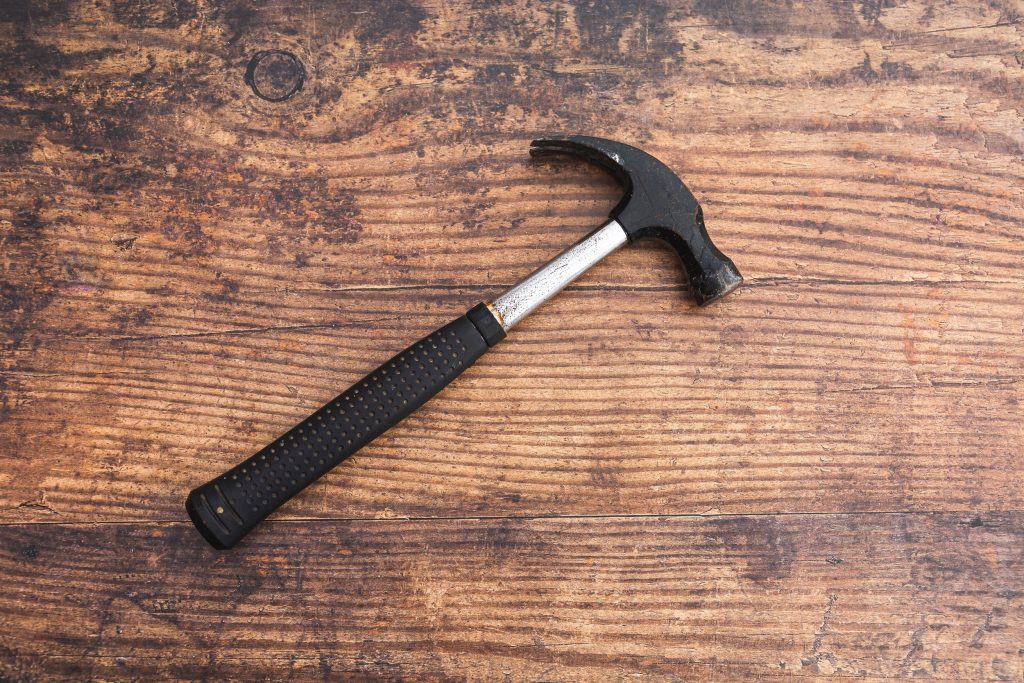
The hammer is the most obvious tool and perhaps one of the most popular and easy-to-use tools in the craftsman’s toolbox. The hammer uses repeated motions of tapping (with varying force) to adhere materials together (using nails). It usually takes a lot of taps to adhere materials together, but a skilled craftsman can usually do it in 3-5 taps. The hammer also has a convenient ability to pull out nails with its cloven end.
The hammer in your practice toolbox is repetition. Repetition is one of the easiest tools to use – knock the hammer around a lot, make lots of noise and you feel like you’ve accomplished something. It is a very necessary tool as well – ever thought of building a house without a hammer? But just using the hammer will get you only so far. Without planning how you use the hammer, you might end up hammering a lot of nails in places where they’re really inconvenient, unnecessary or dangerous!
The same goes for your practice. Repetition is key, but if you repeat things without careful planning, you’re going to have to pull out a lot of bad habits (nails) from your playing. Sometimes, repeating things 30-50 times is the only way to really “get” something (muscle memory!). But if you plan carefully and use the other tools in your toolbox well, you might be able to repeat things just a few times for it to stick.
Blueprint Paper
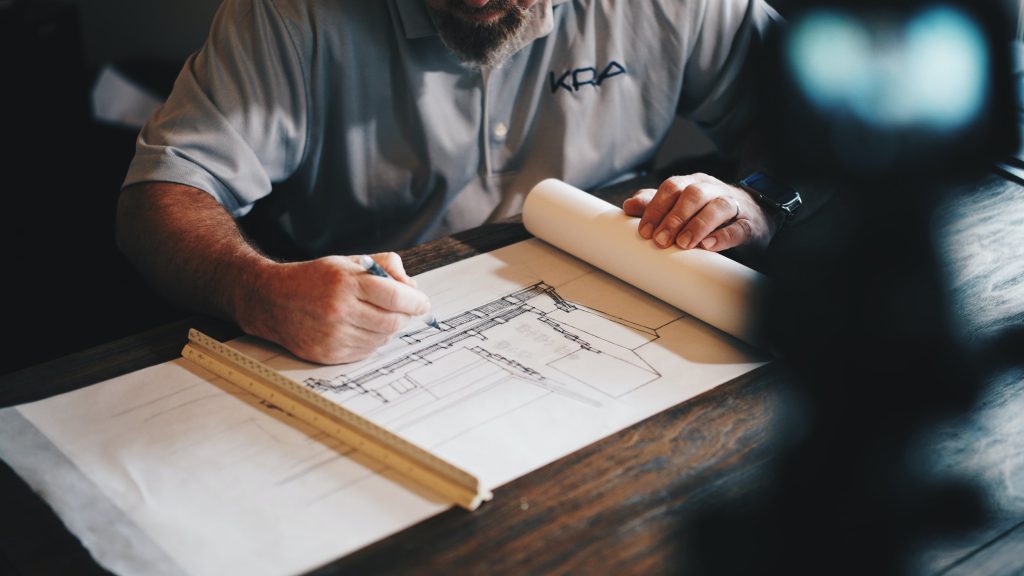
Blueprint paper is very necessary for building something functional and beautiful. To execute what you have built in your mind’s eye, you need to write it out, make measurements, plan what needs to happen to reach the goal, and strategize.
Planning your practice is your blueprint paper. You can sometimes get away without it, like if you are building a garden bed or having a short practice session, but if you’re trying to accomplish more than a simple goal in your practice session, you need to plan it out, write it down and strategize.
Chisel + Saw
Chisels and saws do the same things but on different scales. They carve away excess material (usually wood) to form the desired shape, and they work very well with the hammer. A saw is a good choice if you need to take a large thing apart to make something new. A carpenter uses a chisel to carve small details into his creation, help fit things together or shape something new.
The chisel and saw represent your ability to niche down and focus on a single problem to solve or a clearly-defined goal. They help you go from big-picture perspective, the entire piece, to small-picture perspective, a certain phrase or a few notes – or one note. After carving away excess material from your practice spot, thus identifying the problem, you’re able to work with the spot and problem solve. The chisel is very precise and often slow going – you are making tiny adjustments to create changes that are themselves barely noticeable, but make a big difference.
Drill
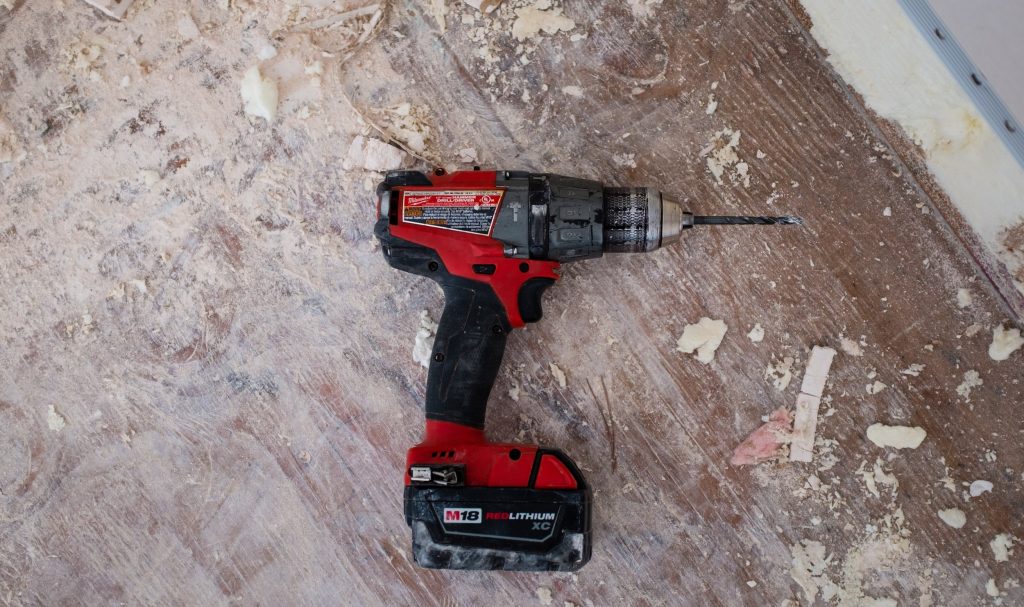
A drill exerts a large amount of force on a very small area to make a hole in the material for a screw to go through. It’s used to eventually join things together, using the hole and the screw. It does very efficient work, and is sometimes stronger than the hammer.
The drill is your laser-focus on one problem to solve. Using the drill, you focus on one note, one technique or one gesture and tweak things about it until you’ve created the sound you want or eliminated the problem. A drill drives a screw into a hole it’s created, much like a hammer, but it can get at smaller, more delicate or oddly-shaped areas better than the hammer can. It’s best used with very small adjustments before going back through with repetition on a larger scale.
Magnifying glass + Flashlight

A magnifying glass enables a builder to see a very small area, and a flashlight helps him illuminate dim or narrow spaces. Both of these tools help him see better. Sometimes, other tools will have a flashlight built into them for convenient building and for use in tight areas.
Your magnifying glass and flashlight in your practice toolbox is mental practice! As I described in a previous blog post, mental practice is a hugely useful analytical tool. It helps you focus on and refine 4 experience areas: visual, auditory, kinesthetic and artistic experiences. While playing your physical instrument, you get so much feedback from your body and mind that it can be overwhelming. Mental practice helps streamline that feedback into a much more focused experience. It clarifies any part of your playing that is unclear, from your sound, to your coordination, to your physical efficiency.
Mental practice is a fantastic tool for finding problems or habits you may not have noticed before. A flashlight and magnifying glass offer that same clarity.
Glue
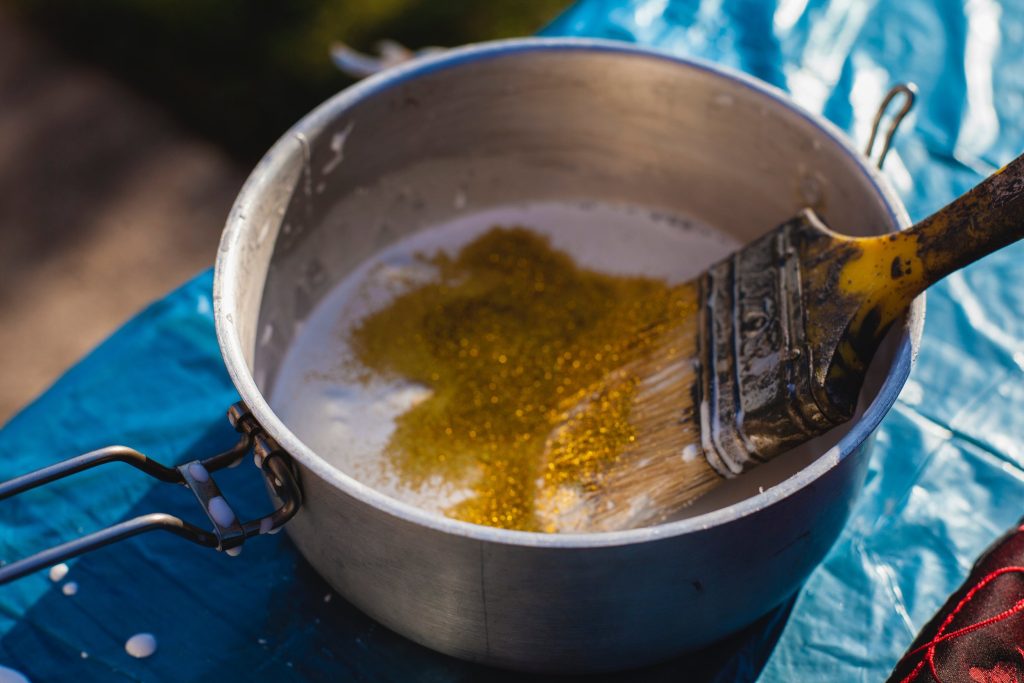
Most projects need some glue to get stubborn materials to stick together. Glue is not as reliable as a hammer and nails or a drill and screws, but once the hammer and drill lay the groundwork of the project, a craftsman can use glue to put finishing touches on his project or place an aesthetic veneer on their work. For example, if you’re building a table and you want a beautiful overlay of wood or glass, you would use glue to hold it in place.
Just like a craftsman, you can use glue in your practice by knitting back together sections you’ve taken apart with your chisel or drill. Glue can also add in small, general aesthetic adjustments – like applying vibrato to an entire piece or phrase.
Level
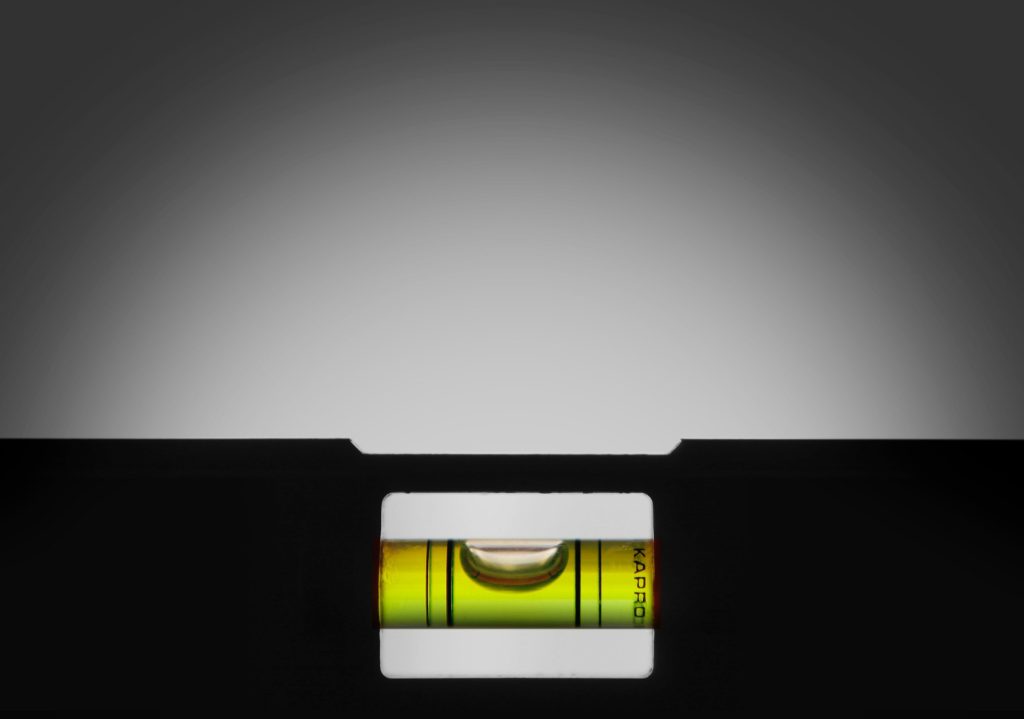
Levels give builders a reality check. Craftsmen use levels to ensure that the structure they are building is structurally sound and will not lean or fall in. Levels provide physical evidence to refute or confirm that the building is truly upright, versus the builder just eyeballing their work. Levels ensure that gravity will not work against a builder’s creation.
A video camera is your level. In the middle or at the end of a practice session, you may find that you’re too deep in the middle of your work to really see if it’s good or not. You may think you solved a problem or that your phrasing is poor, but do you actually know until you are hearing yourself play objectively? It is difficult to provide yourself objective feedback about your playing in the moment. Playing an instrument is so complicated and your emotions may be involved. Seeing yourself perform on camera is hard, but provides you that reality check of objective feedback. Recording yourself performing helps you catch small errors in technique, phrasing issues, unconscious physical habits and observe the things you are doing well.
Hard hat + Gloves

A builder or craftsman would be silly to not protect their head and hands, which are their means of livelihood. Since there is risk of objects falling or breaking during any building project, no self-respecting craftsman would work on a project without some means of protection.
The work you do to improve your physical fitness is your hard hat and gloves. Musicians use their bodies as their means to make music – their livelihood. Even if you are not a professional musician, taking care of your body and mind is your insurance against pain and injury. Since playing an instrument requires so much repeated motions, unnatural postures, and brain power, it is necessary to take care of your body and mind. Resting, managing pain, strengthening your weak muscles and improving your flexibility all create your hard hat and gloves.
These tools are tools that I find necessary to use in my practice toolbox. You might add or subtract tools, but I bet that you find that you use most of the same tools, too. If you have a young person in your life that’s just learning about their practice toolbox, I’ll offer you a fun craft idea: create a physical practice toolbox with some cardboard, card stock and images of the above tools! Then, you and your student can take out the tool they want to use from their practice toolbox while you practice.
Have you utilized your entire practice toolbox? Now’s a good time to start 😉
Happy practicing!